Physical Address
304 North Cardinal St.
Dorchester Center, MA 02124
Physical Address
304 North Cardinal St.
Dorchester Center, MA 02124
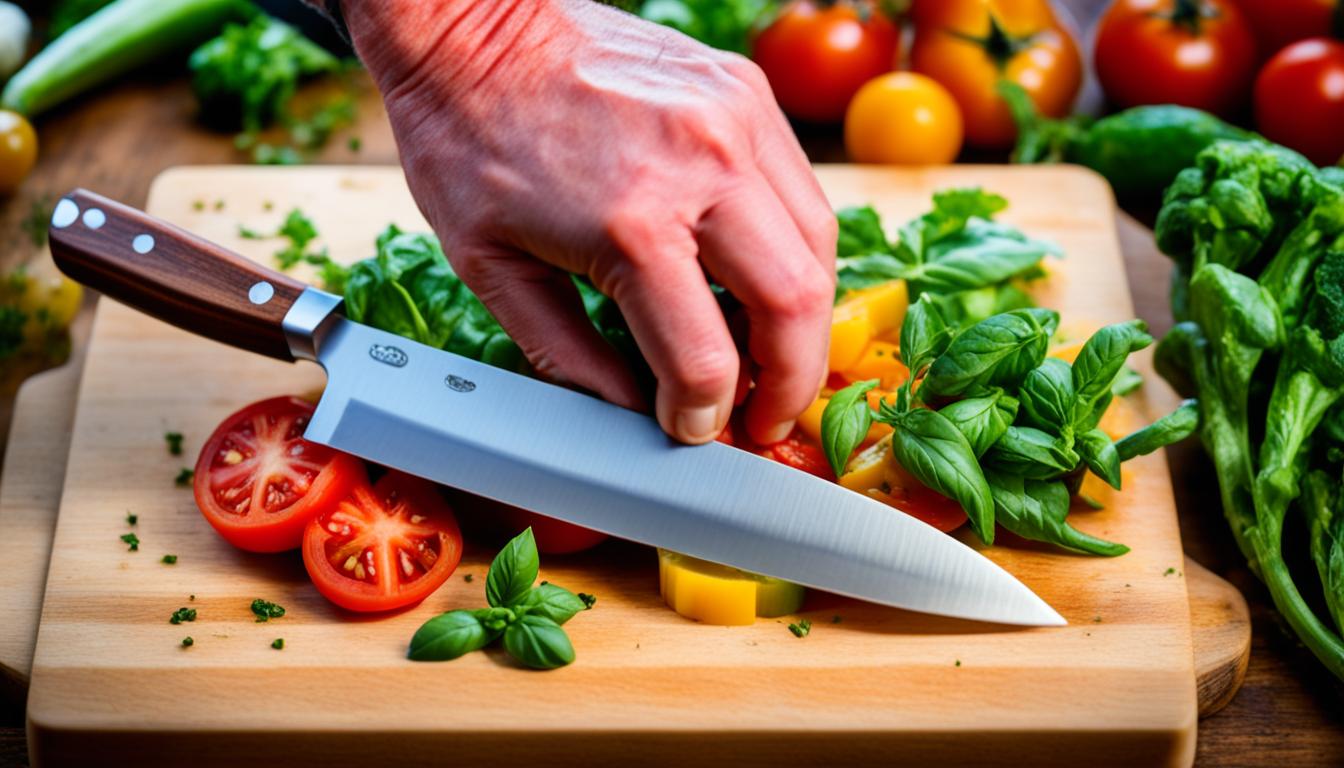
Enhance your culinary prowess with our comprehensive guide to mastering essential knife skills for beginners. Learn proper grips, cutting techniques, and safety measures.
Imagine this: you’re in the kitchen, a bunch of fresh veggies in front of you. You hold a shiny chef’s knife. The air smells of herbs and spices. You’re excited to start, but you’re not sure how to begin. Does this ring a bell?
Many cooks wish they knew how to use a knife properly. This guide will show you how to do just that. It’s for anyone who enjoys cooking, not just chefs. You will learn about different culinary knife types and how to cut vegetables. The goal is to make you a pro at handling knives.
Knife skills are key for anyone who loves to cook. It helps food taste better and look good when you serve it. In this guide, we’ll show you why knife handling is so important. We’ll talk about what knives you need, how to stay safe, how to cut, and how to care for your knives.
Learning knife skills is vital if you want to be a great cook. It makes preparing food quicker and your dishes look nicer. By mastering knife grip techniques and vegetable cutting methods, you make your food prep easier. Also, knowing how to keep your knives sharp and safe helps you work better and avoid cuts.
This guide will teach you all you need to know about culinary knife types and how to use them. You’ll learn about different knives and how to correctly use them. We’ll also look at various cutting techniques and knife sharpening methods. By the end, you’ll have the knowledge and skills for better cooking with knives.
A well-equipped kitchen needs essential knives for various tasks.
It comes with an 8-10 inch blade, making it the kitchen’s main tool for cutting and chopping.
For detailed work like peeling and deveining, a paring knife with a 3-4 inch blade is perfect.
A serrated knife is great for slicing through crusty bread.
Lastly, the boning knife’s flexible blade works well for separating meat from bones.
| Knife Type | Blade Length | Primary Uses |
|---|---|---|
| Chef’s Knife | 8-10 inches | Versatile cutting and chopping, handling a wide range of ingredients from hard winter squash to mincing fresh herbs. |
| Paring Knife | 3-4 inches | Delicate tasks like peeling, deveining, and detailed work on small items. |
| Serrated Knife | 6-8 inches | Slicing crusty breads, tomatoes, and other soft, juicy foods without tearing. |
| Boning Knife | 5-7 inches | Separating meat from bones and trimming fat. |
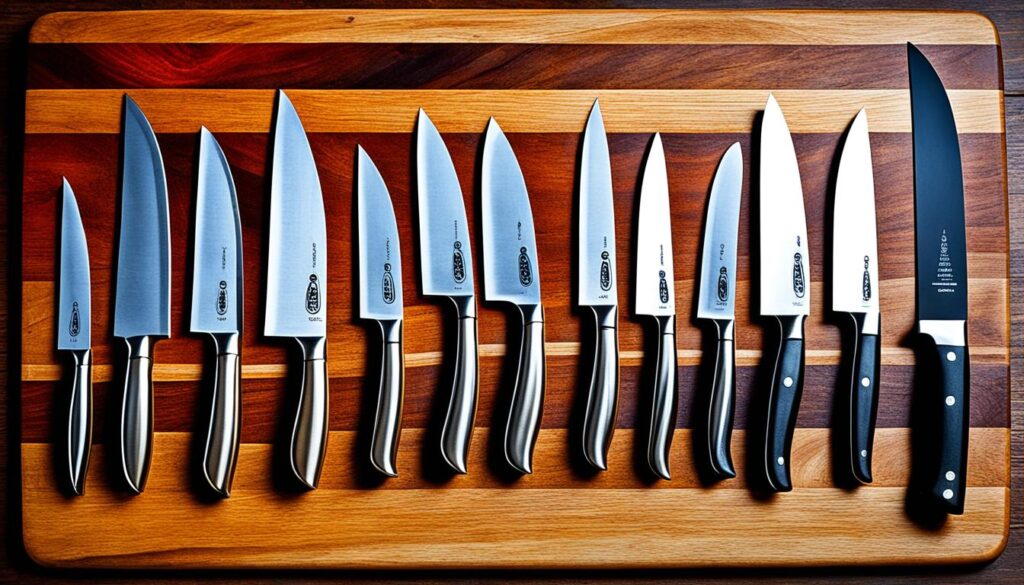
When in the kitchen, knife safety is key. Always remember, a sharp knife is safer than a dull one. A sharp knife can cut easily, meaning less force is required.
Cut away from your body when using knives. Keep your eyes on the blade. This focus helps you stay safe. Make sure to work on a stable cutting board. Also, don’t cut on surfaces that could harm your knife.
Handling knives the right way lowers accident risks. Keep knives with the blade facing down. Store them safely when not in use.
Never put knives in a sink full of water. This hides the sharp blades in the water. Wash knives by hand one by one. This keeps you in control and avoids accidents.
Your choice of cutting board affects safety too. Choose a board that won’t slide. Wooden or plastic boards are better than glass or marble. These materials can blunt knife edges fast.
Remember to change your cutting board when it gets worn. This ensures your work area stays stable and safe.
Using safe knife practices cuts down on accidents. Storing knives properly can stop them from falling or shooting out. You can store them in a knife block or on a magnetic strip.
Also, it’s vital to teach kids about knife safety. And always watch them when they use knives. These steps keep everyone safe and allow for fun and learning in the kitchen.
Learning knife grip techniques is crucial for chefs and home cooks alike. The key is to hold the blade using your thumb’s pad and your index finger’s knuckle. Wrap your other fingers around the handle. This method gives you control and stability while cutting or chopping.
To master the knife grip, place your strong hand on the handle. Grip the blade with your thumb and index finger. Wrap all other fingers around the handle for a secure and balanced hold. This grip lets you cut precisely while keeping your fingers safe from cuts.
The fulcrum is key and can be at the wrist or blade’s tip. It affects how the knife moves. Using your wrist as a fulcrum, the blade rocks for tasks like dicing. Or, keeping the knife’s tip down gives you more control for slicing and trimming.
Your guide hand, in a “tiger claw” position, is critical for knife safety. Tuck your fingers under with knuckles toward the blade. Use your fingertips to guide what’s being cut. This way, you stabilize the food and keep your fingers out of harm’s way.
Learning how to use knives is crucial for home cooks and those who dream of being chefs. This guide will teach you the basics. You’ll learn how to cut vegetables in ways such as dicing or julienning. This knowledge will help you cook better and faster.
We’ll start by talking about the best ways to hold a knife. There are two main grips that offer both control and safety. You’ll also learn to use the “claw” position with your other hand. This keeps your fingers protected while you cut.
Next, we’ll cover six important ways to cut things, like slicing or mincing. You’ll also see how to chiffonade basil and chop onions finely. These techniques will make you versatile in the kitchen.
Using knives safely is as crucial as using them well. We’ll give you tips for cutting big, round veggies and other tricky foods. Finding the right way to hold your knife ensures you can do your best work.
There are three must-have knives for every newcomer: a serrated knife, a chef’s knife, and a paring knife. We’ll recommend top brands like Victorinox and Henckels. Following our advice will help you put together a great knife collection.
Finally, with practice and care, you’ll become great at using knives. This will make cooking more fun and your dishes look better. Don’t forget, regular practice and knife maintenance are essential to cooking well and safely.
Learning knife skills is key for anyone who loves to cook. It’s especially important for chefs. We will discuss essential knife cuts like dicing, julienning, chiffonade, and brunoise.
Dicing means cutting food into small, even cubes. You can make a large (¾ inch), medium (½ inch), or small (¼ inch) dice. This method is perfect for dishes that need even pieces. For a large dice, first cut the food into thick 3/4-inch slices. Then, cut those slices into 3/4-inch cubes. For a medium dice, make 1/2-inch cubes, and make 1/4-inch cubes for a small dice.
Julienning creates thin strips of food, which look like matchsticks, about 1/16 inch wide by 2 inches long. This cut is great for veggies like carrots, zucchini, or bell peppers. It makes a pretty garnish or adds texture to dishes. To julienne, first cut the food into thin planks. Then, stack the planks and cut them into 1/16-inch strips.
Chiffonade is for cutting herbs and greens into thin strips. Stack the leaves, roll them, and cut them. This makes strips around 1/8 inch wide. Chiffonade is ideal for using basil, spinach, or kale in salads, soups, and pastas.
The brunoise cut makes a very small, even dice, about 1/8 inch on each side. Start by julienning the ingredient, then cut the strips into 1/8-inch cubes. This method is great for garnishes or to add texture and beauty to sauces, relishes, and more.
| Cut | Dimensions | Description |
|---|---|---|
| Batonnet | 1/4 inch x 1/4 inch x 2-2.5 inches | Rectangular pieces, similar to French fries |
| Jardiniere | Approximately 1/6 inch x 1/6 inch by 3 inches | Thin, matchstick-like strips |
| Fine Julienne | 1/16 inch × 1/16 inch × 2 inches | Thin, delicate matchstick-like strips |
| Carré (Large Dice) | Cubes with 6 even sides, approximately 3/4 inch | Larger, 3/4-inch cubes |
| Parmentier (Medium Dice) and Macédoine (Small Dice) | Cubes measuring approximately 1/2 inch x 1/2 inch x 1/2 inch | Medium and small 1/2-inch and 1/4-inch cubes |
| Bruniose | Tiny cubes measuring 1/8 inch | Extremely small, uniform 1/8-inch cubes |
| Fine Bruniose | 1/16 inch for width, depth, and length alike | Miniature 1/16-inch cubes |
| Paysanne | Veggies/fruits/roots cut to about 1/2 inch x 1/2 inch x 1/8 inch | Flat, thin 1/2-inch square pieces |
| Chiffonade | Strips of about ⅛ inch | Thin, delicate ribbons or shreds |
Practicing these cuts can make you a better cook. It will speed up your cooking and make your dishes look better.
This part will focus on special ways to cut veggies. Knowing these methods can make your cooking prep easier and your food look better. It’s all about getting those vegetables just right.
Sometimes, you need veggies cut just so. Whether you slice them on a slant or straight across, it makes a difference. A slanted cut makes long, thin pieces great for stirring in a pan. Cutting vegetables “the usual way” makes sure they cook evenly. Try these ways of slicing with the right knives, and your dishes will look and taste amazing.
Sometimes, veggies need to be cut into smaller bits, fast. Chopping is good for making pieces that are a bit ragged but still big. Mincing means cutting veggies really small and even. This is perfect for things like garlic or herbs, so the flavor spreads through the dish. Learning these vegetable cutting methods will make you faster and better at using your knives. Your food will turn out tastier and look really good.
There are also fancy ways to cut veggies, like making flower shapes or really thin slices. Doing these garnishing cuts with a sharp kitchen knife safety can make a simple dish look impressive. Your guests will love it.
It’s key to keep your kitchen knives sharp. This boosts both your work and safety in the kitchen. We will guide you on how to pick the right sharpening tool. Then, we show the best techniques to keep your blade sharp. We will also share ways to ensure your edge stays keen over time.
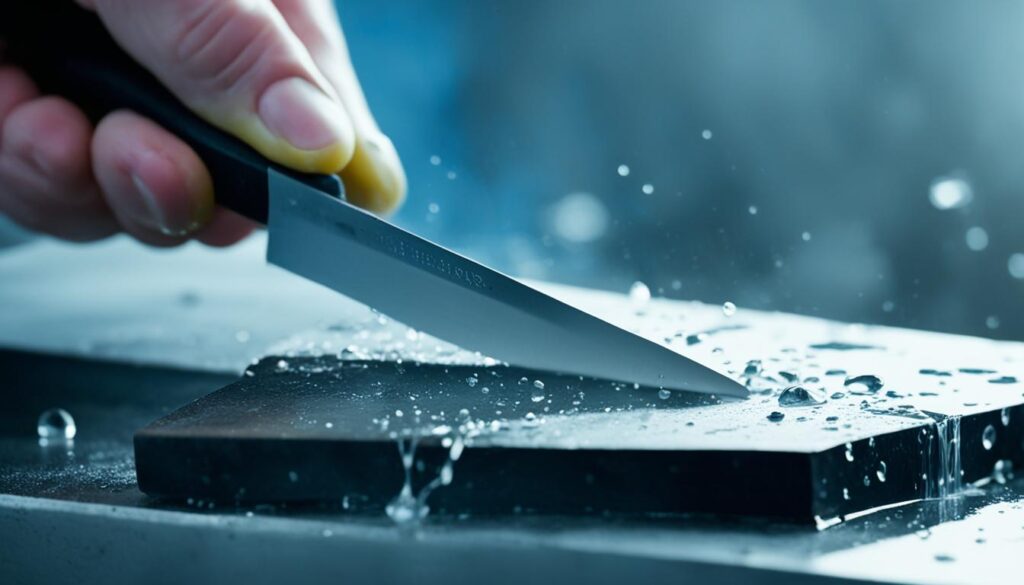
Choosing the right tool for knife sharpening is critical. Sharpening stones, including waterstones and whetstones, are top picks. They vary in grit sizes, which range from coarse to fine. Lower grit numbers mean tougher grit that removes more material from the blade.
For home use, a waterstone at least 2.5 inches wide, 8 inches long, and an inch thick is best. Aim for a grit range of 1,000 to 1,200 for your first stone. It’s a good idea to have two stones: one medium grit (about 800) for rough sharpening and one fine grit (at least 2,000) for a super sharp edge.
Sharpening with a whetstone needs some skill, but you can learn it. First, soak the stone in water for 45 minutes so it doesn’t dry out. Always hold a steady angle and work both sides of the blade equally.
Another method is using wet/dry sandpaper. Begin with a coarse grit, like 320, and move up to 1,000 grit. With this, make ten passes on each side, making sure the blade edge follows the spine. This method can give you a very smooth edge, perfect for precise cutting.
After sharpening, regularly hone your kitchen knives on a steel. This keeps the edge straight and sharp. Also, always take care of your sharpening tools. Dry them well after use and store them in a clean, dry place to make them last.
For most home users, sharpen your knives at least twice annually. However, if you cook often, it might need to be more frequent. Doing so keeps your knives in top working condition, ensuring kitchen safety and efficiency.
Keeping kitchen knives safe is very important. We will talk about how to store them safely. This includes using a knife block or magnetic strip. It’s also key to hand-wash knives and keep them out of the dishwasher. We’ll look at these maintenance practices to make your knives last longer.
Storing culinary knives the right way is key for kitchen knife safety. Don’t just throw them in a drawer. This might dull them and could be dangerous. Instead, choose a knife block or a magnetic strip on a wall. These methods keep your knives for beginners handy but safe from harm.
Looking after your kitchen knife set is critical. Clean them by hand with warm, soapy water. Remember, the dishwasher is not a good idea. Thoroughly dry your knives to stop rust. Keep them in a dry spot. Sharpening them regularly with a whetstone or electric sharpener is vital. This keeps your knife skills precise and effective.
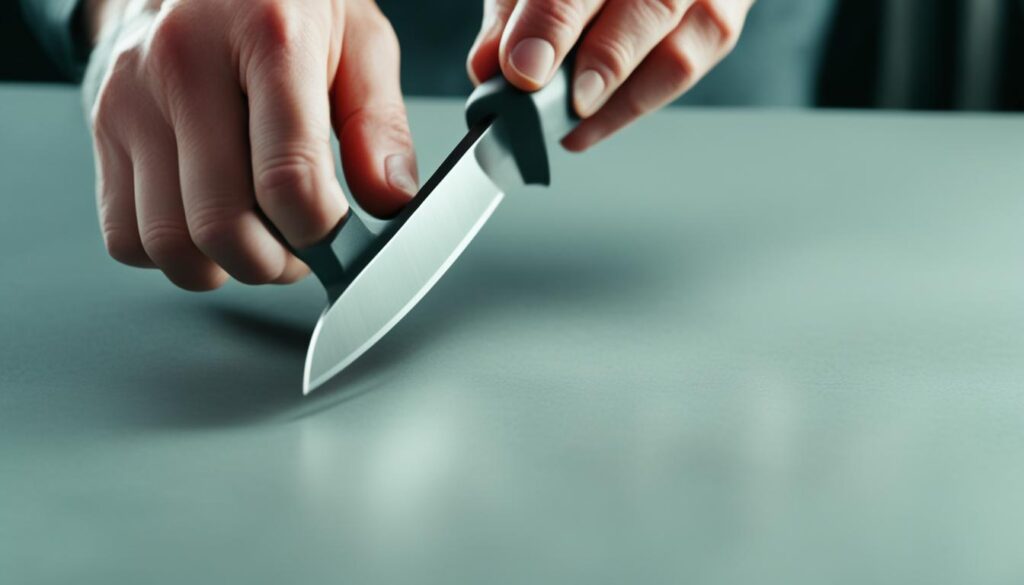
In this guide, we’ll look at important knives every kitchen needs. This includes the chef’s knife, paring knife, and serrated knife. They are essential for any cook. But, there are more knives out there for specific jobs or cooking styles. These special knives can make you a better chef by improving your knife skills and letting you use different vegetable cutting methods.
The santoku knife is one such specialized tool. It’s from Japan and great for slicing, dicing, and mincing. Another is the filleting knife, perfect for fish. It’s thin and flexible, making it easy to remove bones. On the other hand, the cleaver is big and strong, useful for cutting meat and bones in Asian cooking.
Each culture has its own unique knives for cooking. The nakiri knife, from Japan, is shaped for cutting leafy greens and herbs perfectly. Knives like the santoku and nakiri show how specialized culinary knife types are. They also teach us about knife sharpening basics and kitchen knife safety.
Learning knife skills is key for anyone who loves cooking, from new enthusiasts to seasoned pros. This guide offers top techniques for better efficiency, safety, and tastier meals. Make sure to practice a lot, keep your knives sharp, and cook with confidence.
Good knife skills help you cook faster and make better-looking meals. They keep you safe in the kitchen too. Taking care of your knives not only helps them last longer but also improves your cooking.
Improving at using knives can make cooking easier and more fun. It boosts your confidence in the kitchen. This can inspire you to try new dishes and make food that looks as amazing as it tastes. Follow the advice in this guide to make your cooking better and more enjoyable.