Physical Address
304 North Cardinal St.
Dorchester Center, MA 02124
Physical Address
304 North Cardinal St.
Dorchester Center, MA 02124
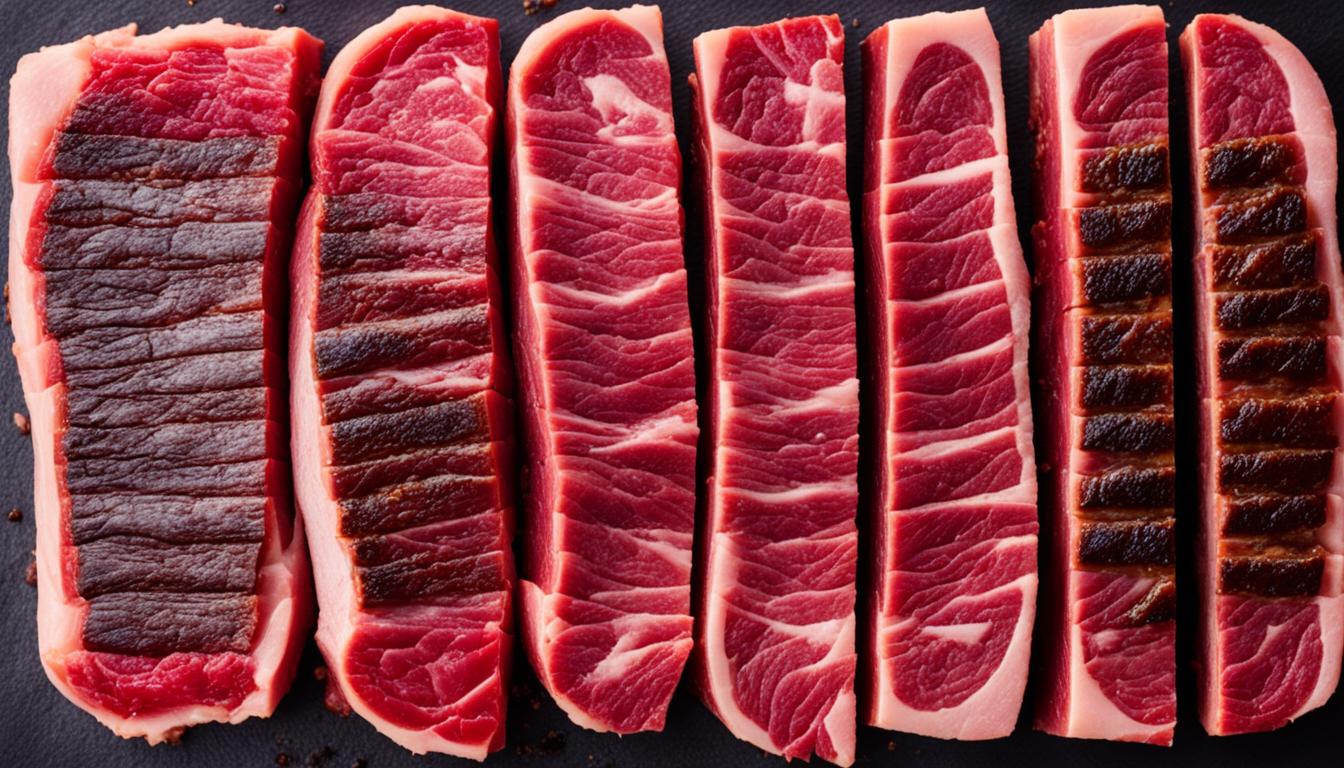
How to Cook Meat to the Perfect Doneness Every Time - Master the art of achieving perfectly cooked, juicy meat with our expert tips on meat doneness levels, cooking temperatures, and techniques.
I’m a professional chef, and seeing someone enjoy a perfectly cooked steak fills me with joy. The sizzle, the smell, the tenderness – it’s pure excellence. But, a spoiled steak can really bum people out, especially when it’s too well done or not done at all. So, I’m sharing my tips to make sure your meat is just right every time.
This guide is all about different meat doneness levels and why temperature is key. I’ll also talk about essential tools, like meat thermometers and the touch test. This info is perfect for anyone who loves to cook, whether you’re starting out or already know a lot. Follow my advice, and you’ll be a meat-cooking expert in no time.
Achieving the ideal meat doneness is key to tasty and juicy meals. Meat comes in various levels, from a rare steak’s cool, red center to a well-done’s hot, gray-brown inside. Knowing these levels helps get the cooking right.
Rare doneness shows off a cool, red center with a soft texture. It’s cooked to an internal temperature of 120°F to 125°F.
Medium-rare meat has a warm, red center and is a bit firmer. It’s cooked to about 130°F to 135°F inside.
For medium, you get a warm, pink center but with a firm texture. This level hits an internal temperature of 140°F to 145°F.
Medium-well has a hot, pink center that’s very firm. It reaches 150°F to 155°F inside.
A well-done steak is hot all the way through and very firm. It’s cooked above 160°F.
It’s important to understand the meat’s doneness levels for cooking meat right. No matter if you like your steak rare or well-done, learning about meat doneness improves your cooking. It ensures your meals are just how you like them.
Getting the right cooking temperatures for meat is crucial. The heat inside your food shows how well it’s cooked. Making sure meat is cooked at safe temperatures is key to avoiding sickness. Misjudging this can lead to meals that are either too dry or uncooked. Knowing the correct cooking temperatures for meat is vital for anyone who wants to cook meat well.
| Meat Type | Recommended Internal Temperature |
|---|---|
| Ground beef, pork, veal, and lamb | 160°F (70°C) |
| Ground turkey and chicken | 165°F (75°C) |
| Rare beef, lamb, and veal | 130°F to 135°F (54°C to 57°C) |
| Medium-rare beef, lamb, and veal | 145°F (63°C) |
| Medium beef, lamb, and veal | 160°F (71°C) |
| Well-done beef, lamb, and veal | 170°F (77°C) |
| Poultry (whole and pieces) | 165°F (75°C) |
| Fresh pork | 145°F (63°C) |
| Raw ham and pre-cooked ham | 145°F (63°C) and 140°F (60°C), respectively |
| Fish | 145°F (63°C) or until the flesh is opaque and flakes easily |
| Shrimp, lobster, and crabs | Cooked until they turn pink, pearly, and opaque |
| Clams, oysters, and mussels | Cooked when their shells open; discard any that remain closed |
| Scallops | Cooked until the flesh is opaque and firm |
Easy-to-understand information about cooking temperatures is so important. It keeps our meals tasty and safe to eat. By cooking meat correctly, we stop sickness and enjoy delicious meals every time.
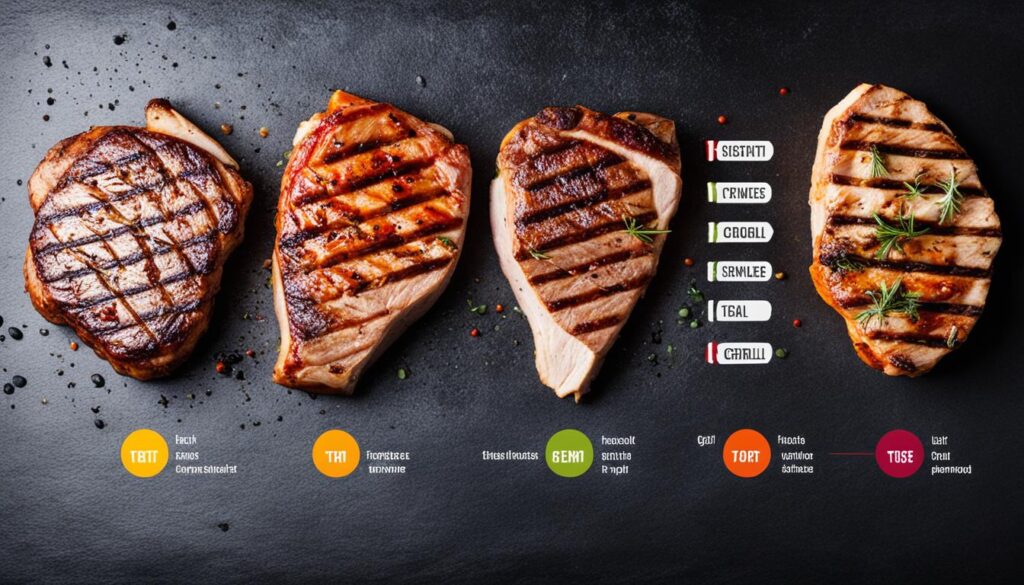
Getting your meat’s doneness right is key. A meat thermometer is the best tool for this job. Many types of meat thermometers exist, each with special features.
Instant-read thermometers quickly show the meat’s temperature. They work best for thin cuts. For those who love precision, digital thermometers are a hit. Oven-safe ones can stay in the meat while it bakes, making checking the temp easy without opening the oven.
It’s important to check if your meat thermometer is accurate. Do this by putting it in boiling water, which should read 212°F (100°C). Calibrate it, if needed, to get accurate readings.
Using the right insertion techniques is vital. Put the thermometer in the thickest part of the meat, away from bone or fat. Pull it slowly out to find the coolest spot for the true reading.
Knowing about types of meat thermometers, how to calibrate them, and the proper use helps you cook meat perfectly. Whether you like your meat rare, medium, or well-done.
A meat thermometer is very accurate for checking if a meat is done. But for thinner cuts, the touch test can be a great trick. You do this by gently pressing the meat with your finger. Then, compare how it feels to parts of your hand. Each level of firmness matches a different doneness stage. By doing the touch test often, you’ll get good at knowing when your meat is ready without needing a thermometer.
The touch test for doneness is a skill that gets better with practice. To start, try it on cuts you know well, like steaks or chops. Press the meat with your finger and feel the firmness. Over time, guessing doneness by finger firmness will become easier.
The touch test helps you know if meat is raw, rare, medium-rare, medium, or well-done. For example, a raw piece feels like the soft area under your thumb. As it cooks, the meat gets firmer. A well-done piece will feel as firm as your forehead.
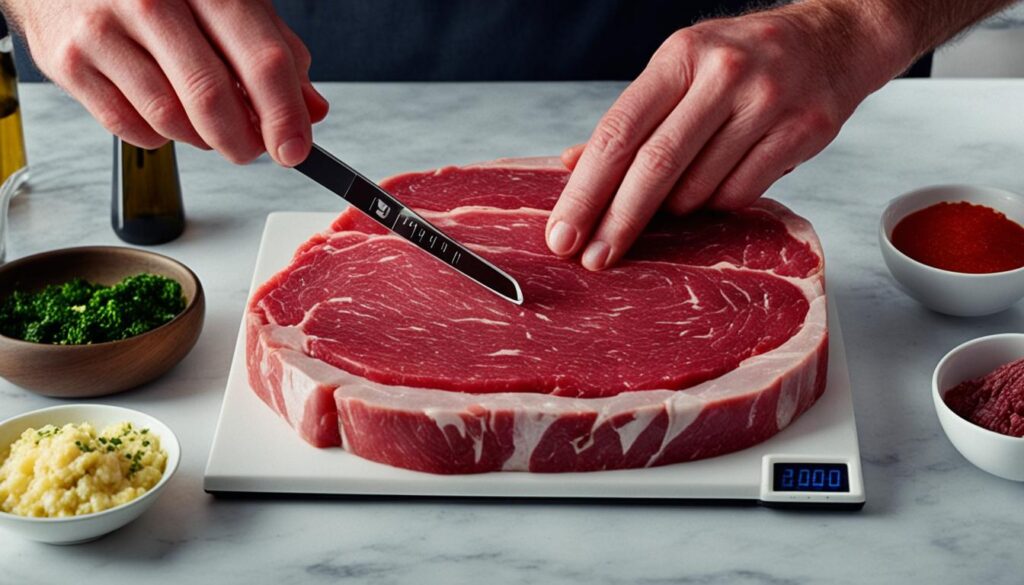
Learning the touch test is about practice. With time, you can cook your meat just right without a thermometer. This technique, paired with timing and thermometers, will make you a pro at cooking meat.
To cook meat just right, you need a good plan. This includes how you prepare and cook it. It also means you must keep an eye on it while it’s cooking.
The first step is getting the meat ready. This means letting it get to room temperature and drying it off. This is before any cooking starts.
Getting the meat warm makes sure it cooks evenly. This tip helps the meat end up with the same doneness all over. Drying it off with paper towels before you sear it is key. It makes a sweet crust and keeps the meat juicy.
Searing your meat well is about that intense heat at the start. This high heat gives you that yummy, almost crispy surface. It also keeps the flavors locked inside. For the best sear, make sure your pan or grill is very hot. And remember, the meat needs to be dry before it hits the heat.
Keep a close watch on your meat as it cooks. You can check how done it is with a meat thermometer. Or, use the touch test. This is important to make sure it’s cooked just like you want it.
Checking the temperature inside the meat is a smart move. It helps you hit the right doneness every time. Use a guide to know the temperature your meat should reach for how you like it done.
| Doneness Level | Internal Temperature | Grilling Time |
|---|---|---|
| Rare | 120 to 130°F | 5 then 3 minutes per side |
| Medium-Rare | 130 to 135°F | 5 then 4 minutes per side |
| Medium | 140 to 150°F | 6 then 4 minutes per side |
| Medium-Well | 155 to 165°F | 7 then 5 minutes per side |
| Well-Done | 170°F or more | 12 then 10 minutes per side |
Mastering the right cooking techniques is key. But, other tips can keep your meat juicy and tender. Dry brining and letting the meat rest are two important factors.
Dry brining is easy and works well. You rub salt (and herbs sometimes) on the meat. Let it sit in the fridge for hours or a day before cooking. This process makes the meat more tender. It also gives it a better sear and flavor. By dry brining, your meat will be juicier and more tender. This is perfect for meat lovers.
After cooking, let the meat rest. This step is crucial for keeping the meat juicy and just right. The juices inside get to move and spread back through the meat. This makes it tastier and moist. Resting times vary, but 4-5 minutes is often enough. This gets the meat ready to serve perfectly.
Cooking meat often means fighting the battle against it getting overcooked and dry. We deal with this through carryover cooking. This is when meat keeps cooking after we turn off the heat. Knowing about this helps us cook our meat just right.
While off the heat, meat’s inside keeps getting warmer because heat moves from outside to inside. If we ignore this, our meat ends up overcooked, tough, and dry. That’s because essential parts like proteins, fat, and moisture cook off too much.
Hitting just the right cook on your meat means taking it off the heat a bit early. You stop cooking right before it’s perfectly done. This way, the leftover heat finishes it without making it overcooked. Keeping a close eye on its temperature does the trick.
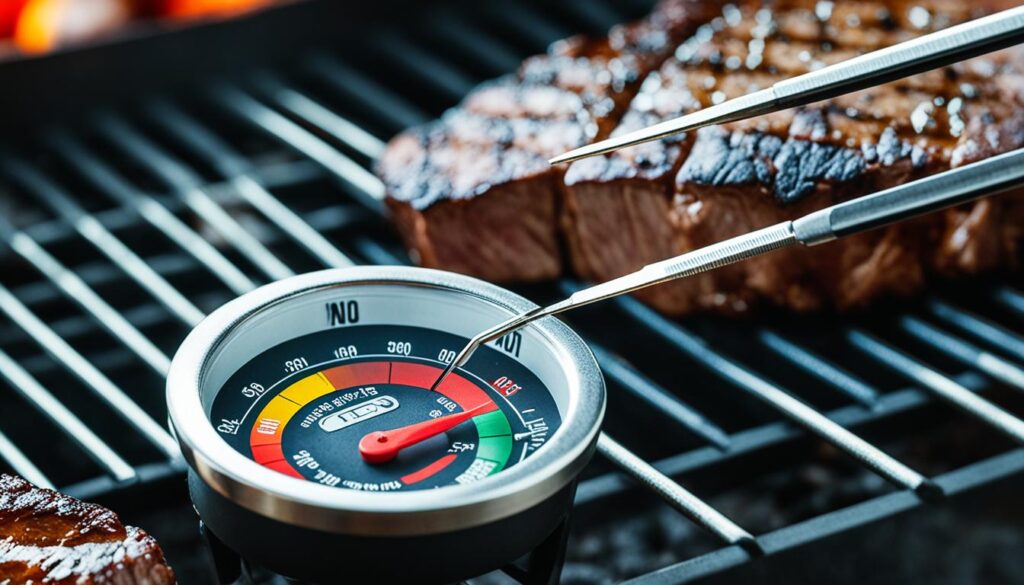
Picking rare or well-done meat is all about what you like and need. Some enjoy the strong flavors and softness of rare meat. Others like it fully cooked. Knowing how to cook your meat just right is key. This way, everyone is happy with their meal.
People in South America, like those in Argentina and Brazil, prefer well-done meat. In the Middle East, countries like Lebanon and Iran go for a medium-cooked style. Yet, France and Italy treasure rare to medium-rare steaks.
The U.S. has its own mix of preferences, often liking medium-rare steaks. In Southeast Asia, meats are cooked to medium-rare with rich spices. South Africa prefers a little more cooking for their barbecues. On the other hand, Nigeria and Ethiopia like their meats well-done.
What you choose, rare or well-done, depends on your taste. It’s important to learn about the different cooking levels. This ensures your meat is just how you like it.
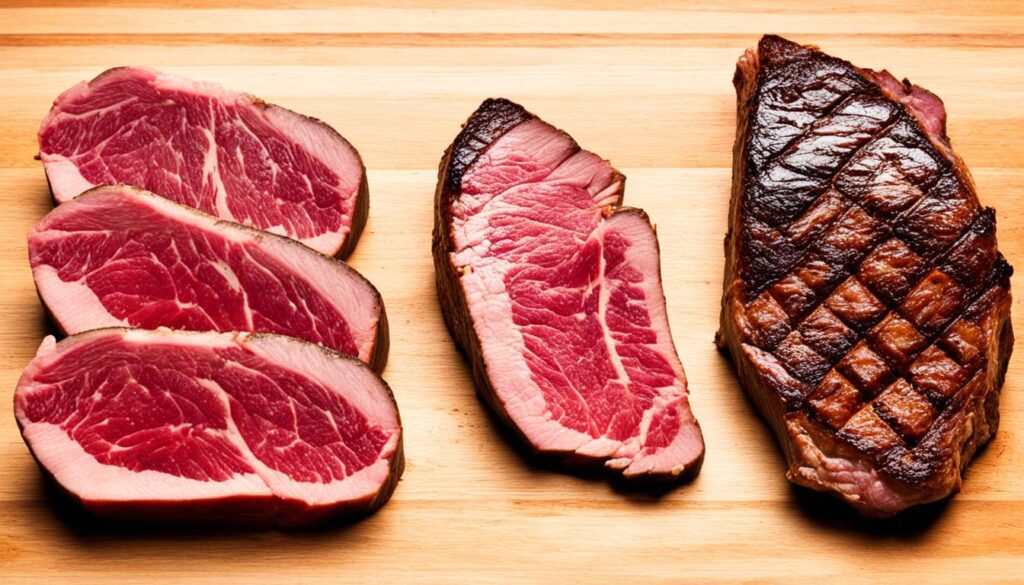
After cooking, letting the meat rest is essential for juicy and tender results. This time allows the meat’s juices to spread evenly, making it tasty and moist. The meat resting times differ based on the meat’s cut and thickness. But, leaving it to rest for 5-15 minutes works well for most meats.
Steaks and smaller cuts only need 5-10 minutes to rest. Medium cuts, like beef topside, should rest for about 20 minutes. However, larger roasts or turkeys require longer, about half an hour to an hour, for the optimal juiciness. Remember, the meat still cooks a bit as it rests. So, take it off the heat just before it’s fully done.
Using a thermometer to check the meat’s temperature while it rests is a smart move. It helps you see how much the meat keeps cooking. This way, you can improve how you cook and rest the meat to always get juicy results. Learning about the right resting times can make your cooking better. It helps ensure the meat is soft, tasty, and cooked just the way you like it.